今天为博客增加了音乐播放插件、博客页脚网站安全运行时间、文章阅读次数以及网站访客统计的功能,接下来进行详细介绍。
博客音乐插件的使用
本博客使用的音乐播放插件为hexo-tag-aplayer,该款插件集成了MetingJS的功能,MetingJS是基于Meting API 的APlayer 衍生播放器,引入 MetingJS 后,播放器将支持对于 QQ音乐、网易云音乐、虾米、酷狗、百度等平台的音乐播放。
安装
1 | npm install --save hexo-tag-aplayer |
配置
如果想在本插件中使用 MetingJS,请在 Hexo 配置文件 _config.yml 中设置:
1 | aplayer: |
接着就可以通过以下方式在文章中使用MetingJS播放器了:
1 | <!-- 简单示例 (id, server, type) --> |
有关选项列表如下:
| 选项 | 默认值 | 描述 |
|---|---|---|
| id | 必须值 | 歌曲 id / 播放列表 id / 相册 id / 搜索关键字 |
| server | 必须值 | 音乐平台: netease, tencent, kugou, xiami, baidu |
| type | 必须值 | song, playlist, album, search, artist |
| fixed | false | 开启固定模式 |
| mini | false | 开启迷你模式 |
| loop | all | 列表循环模式:all, one,none |
| order | list | 列表播放模式: list, random |
| volume | 0.7 | 播放器音量 |
| lrctype | 0 | 歌词格式类型 |
| listfolded | false | 指定音乐播放列表是否折叠 |
| storagename | metingjs | LocalStorage 中存储播放器设定的键名 |
| autoplay | true | 自动播放,移动端浏览器暂时不支持此功能 |
| mutex | true | 该选项开启时,如果同页面有其他 aplayer 播放,该播放器会暂停 |
| listmaxheight | 340px | 播放列表的最大长度 |
| preload | auto | 音乐文件预载入模式,可选项: none, metadata, auto |
| theme | #ad7a86 | 播放器风格色彩设置 |
参考
Github 地址:https://github.com/MoePlayer/hexo-tag-aplayer
官方文档:https://github.com/MoePlayer/hexo-tag-aplayer/blob/master/docs/README-zh_cn.md
效果

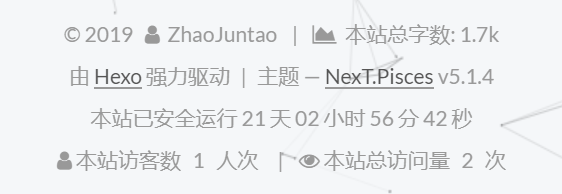
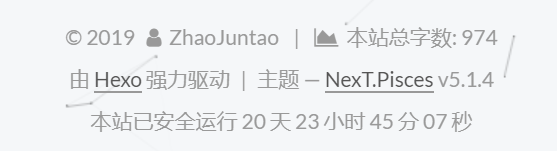
博客页脚添加网站安全运行时间
设置
在\themes\next\layout\_partials\footer.swig文件中添加如下代码:
1 | <!-- 网站运行时间的设置 --> |
效果
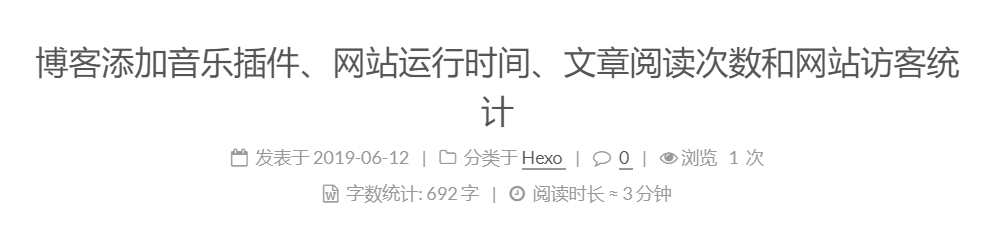
添加文章阅读次数统计和访客统计
设置
可以使用不蒜子统计实现文章阅读次数统计和访客统计的功能,不蒜子就是那么一款记录访客和访问量的插件。
首先需要在themes/next/layout/_partial/footer.swig文件开始添加busuanzi.pure.mini.js不蒜子脚本文件:
1 | <script async src="//busuanzi.ibruce.info/busuanzi/2.3/busuanzi.pure.mini.js"></script> |
如果使用的是Next主题,接下来需要在主题配置文件 _config.yml 中设置如下:
1 | # Show PV/UV of the website/page with busuanzi. |
效果